

Sending Appointment Requests in CloudMedico
In CloudMedico you can allow your Patients to send Appointment Requests, based on your available timeslots, and then Approve or Reject them.
To do so, you first need to enable this option by editing one of your Practitioners, and then set the Practitioner's working days and hours, as also the default appointment duration.
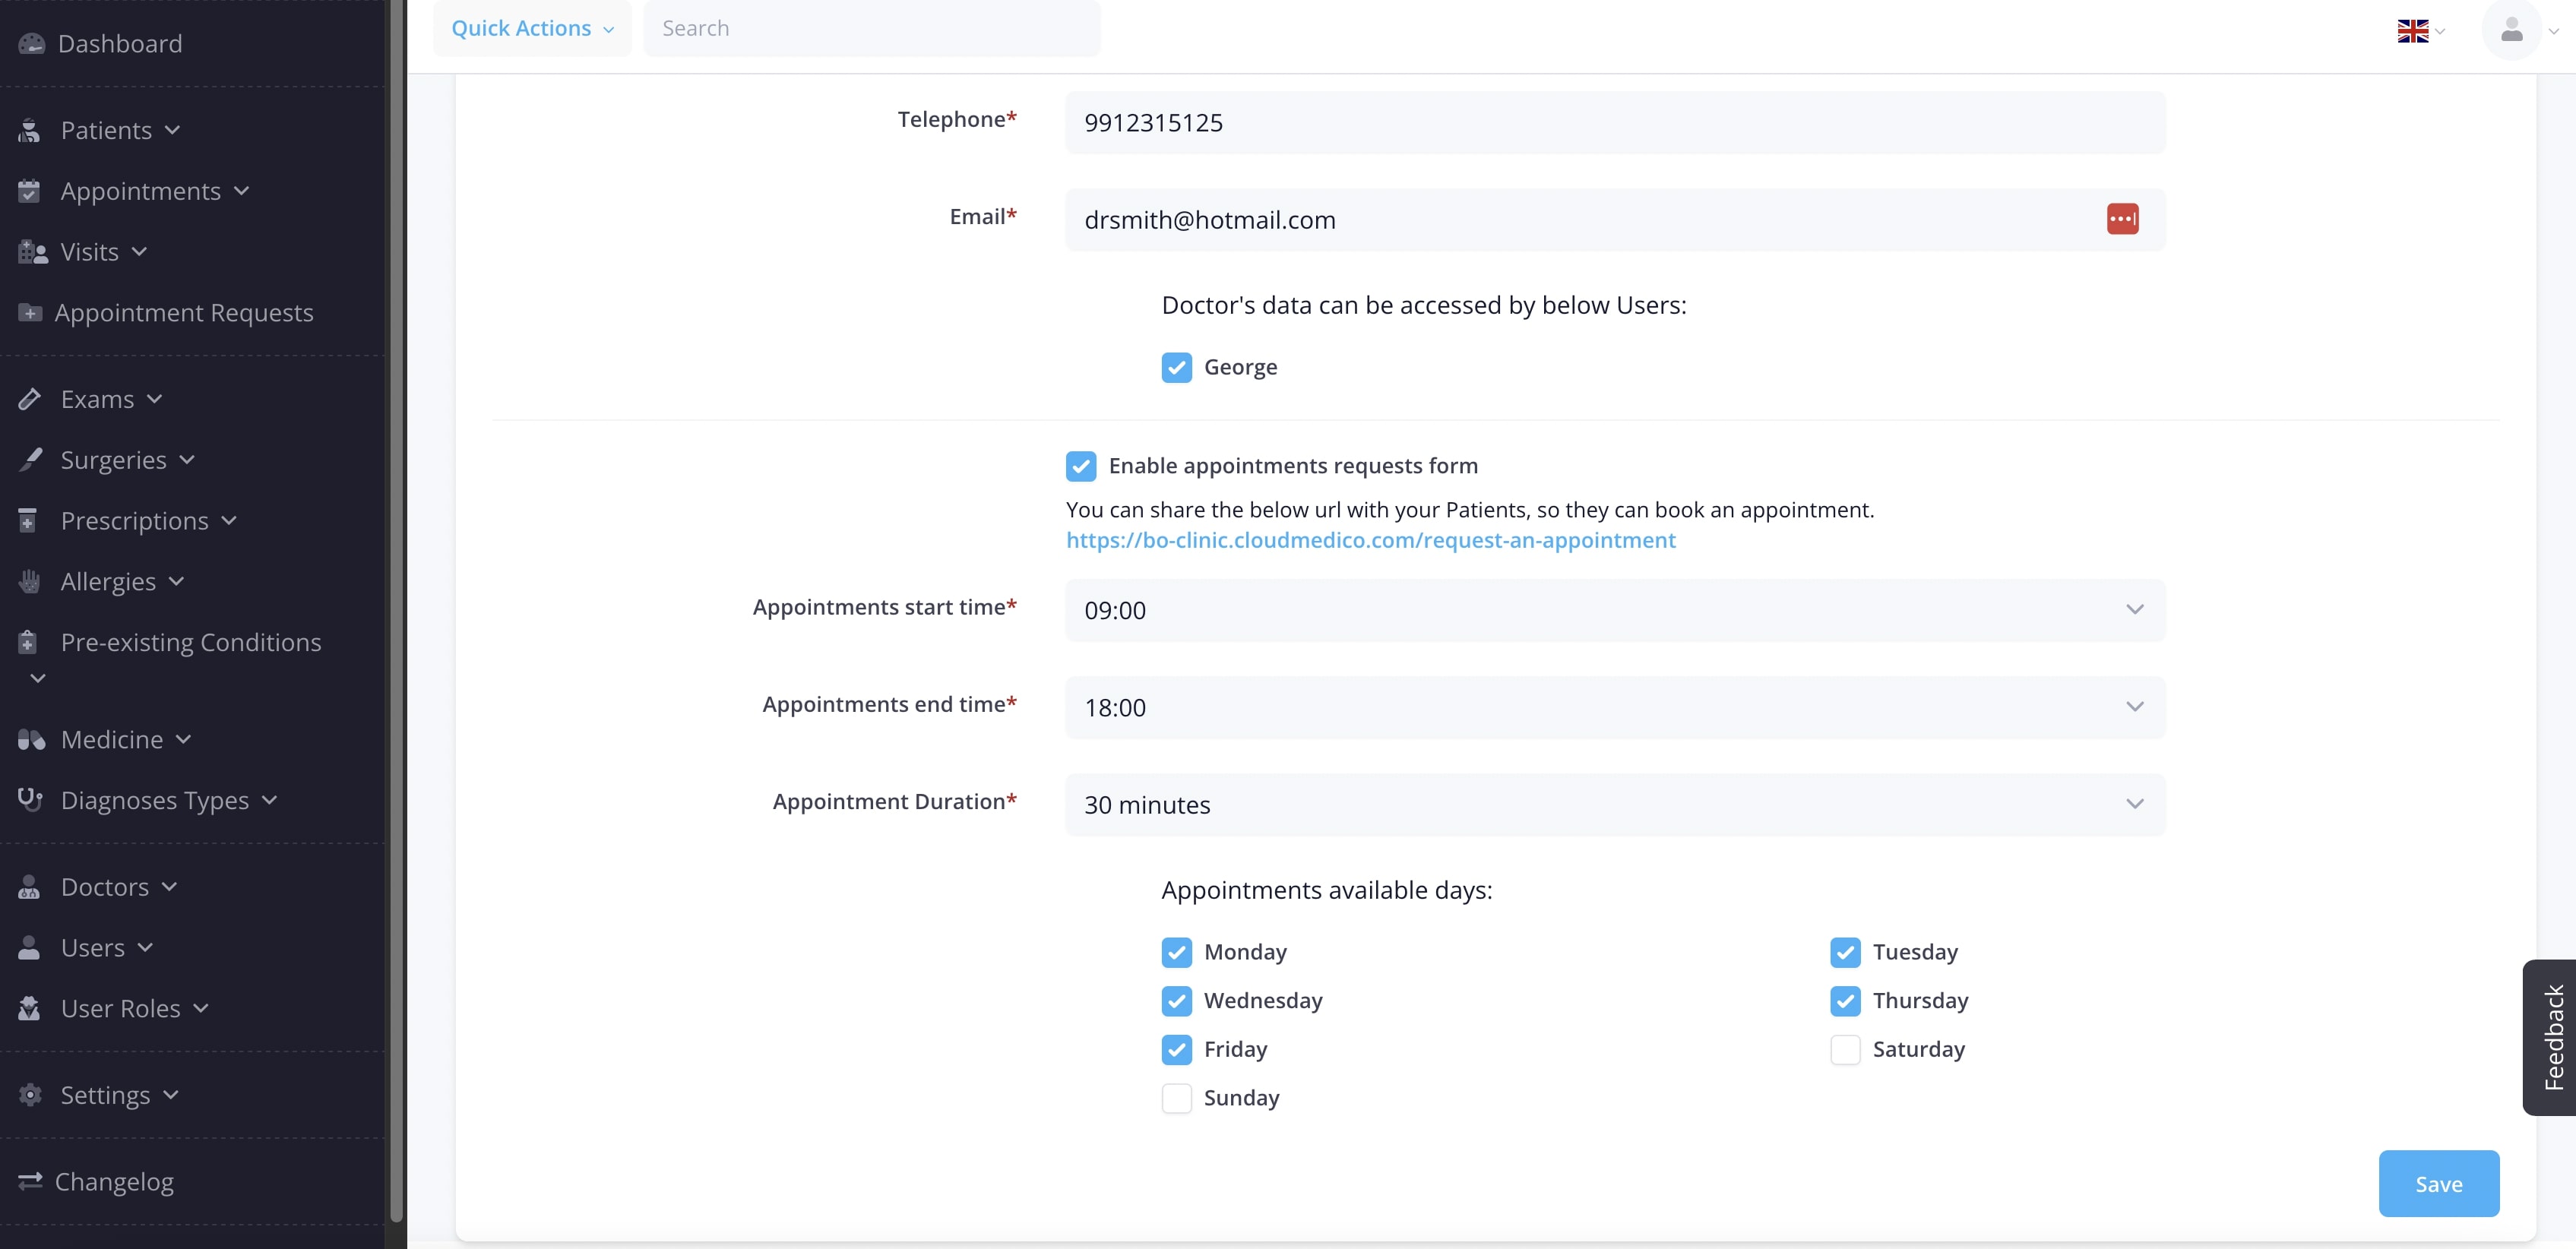
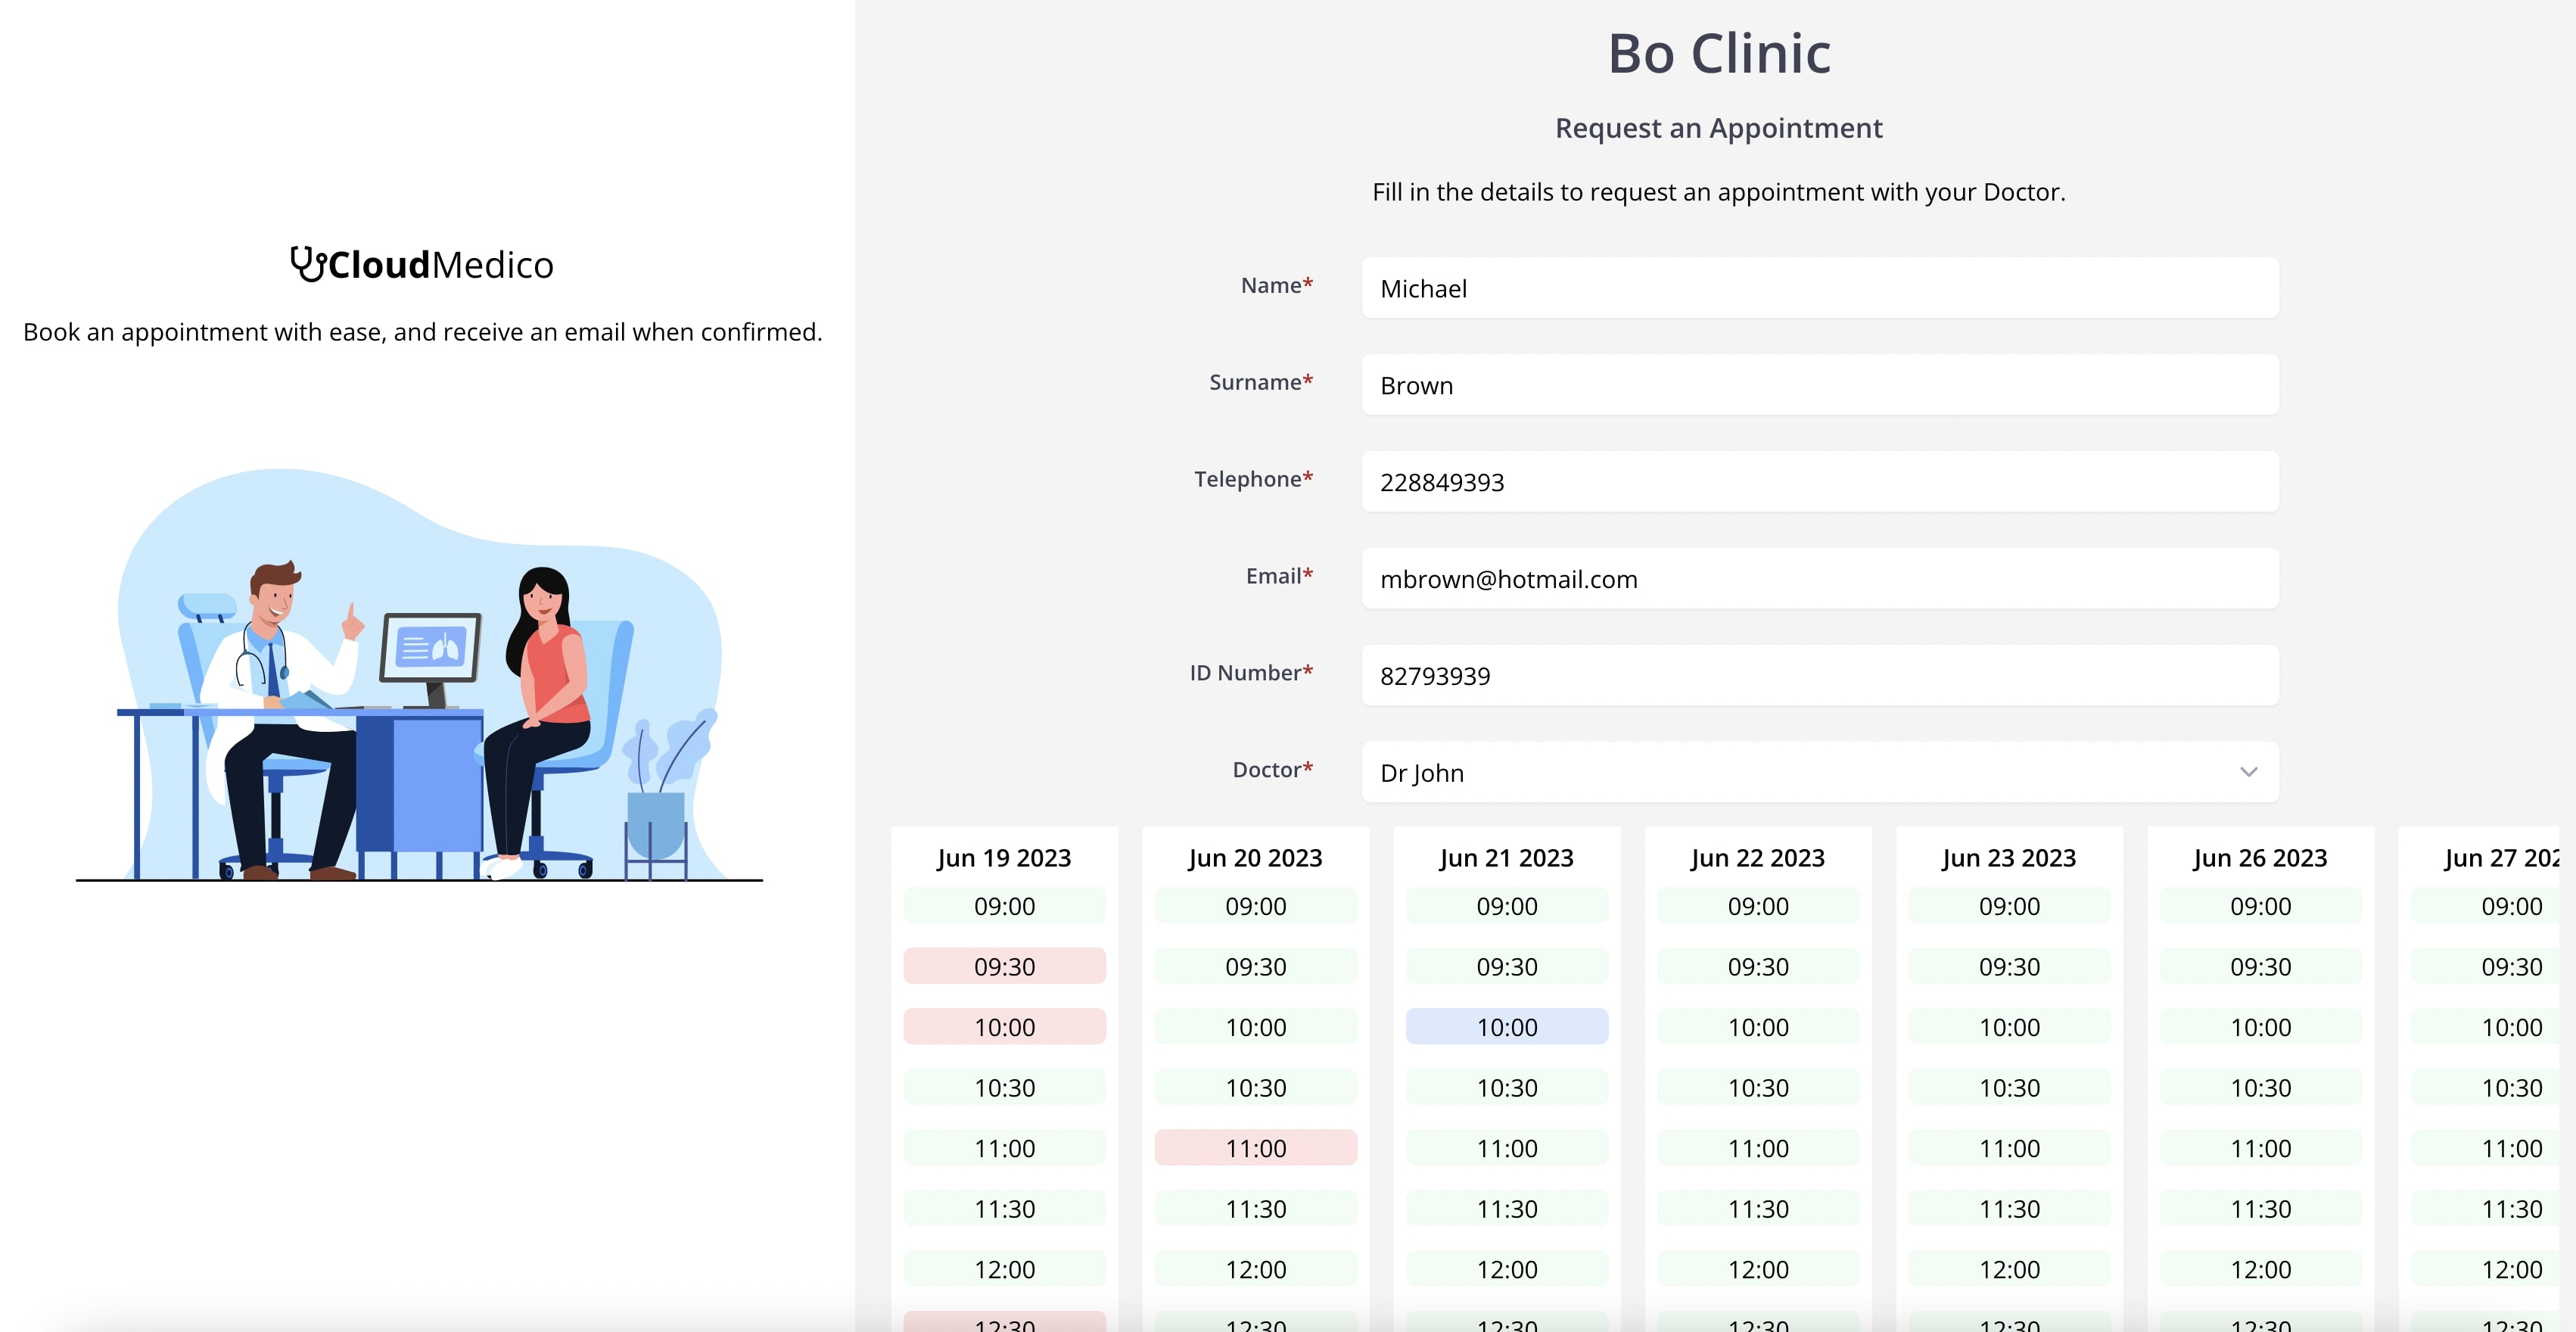
You can click the link below the 'enable appointment requests form' checkbox, in order to access the Appointment Requests page. This is the link that you can share with your Patients, in order to make an Appointment Request.
In this page the Patient fills out his details, and then picks a timeslot from the available timeslots for the selected Practitioner. The timeslots are generated based on the Practitioner's working days and hours. Timeslots overlapping with his current Appointments are excluded(shown in red).
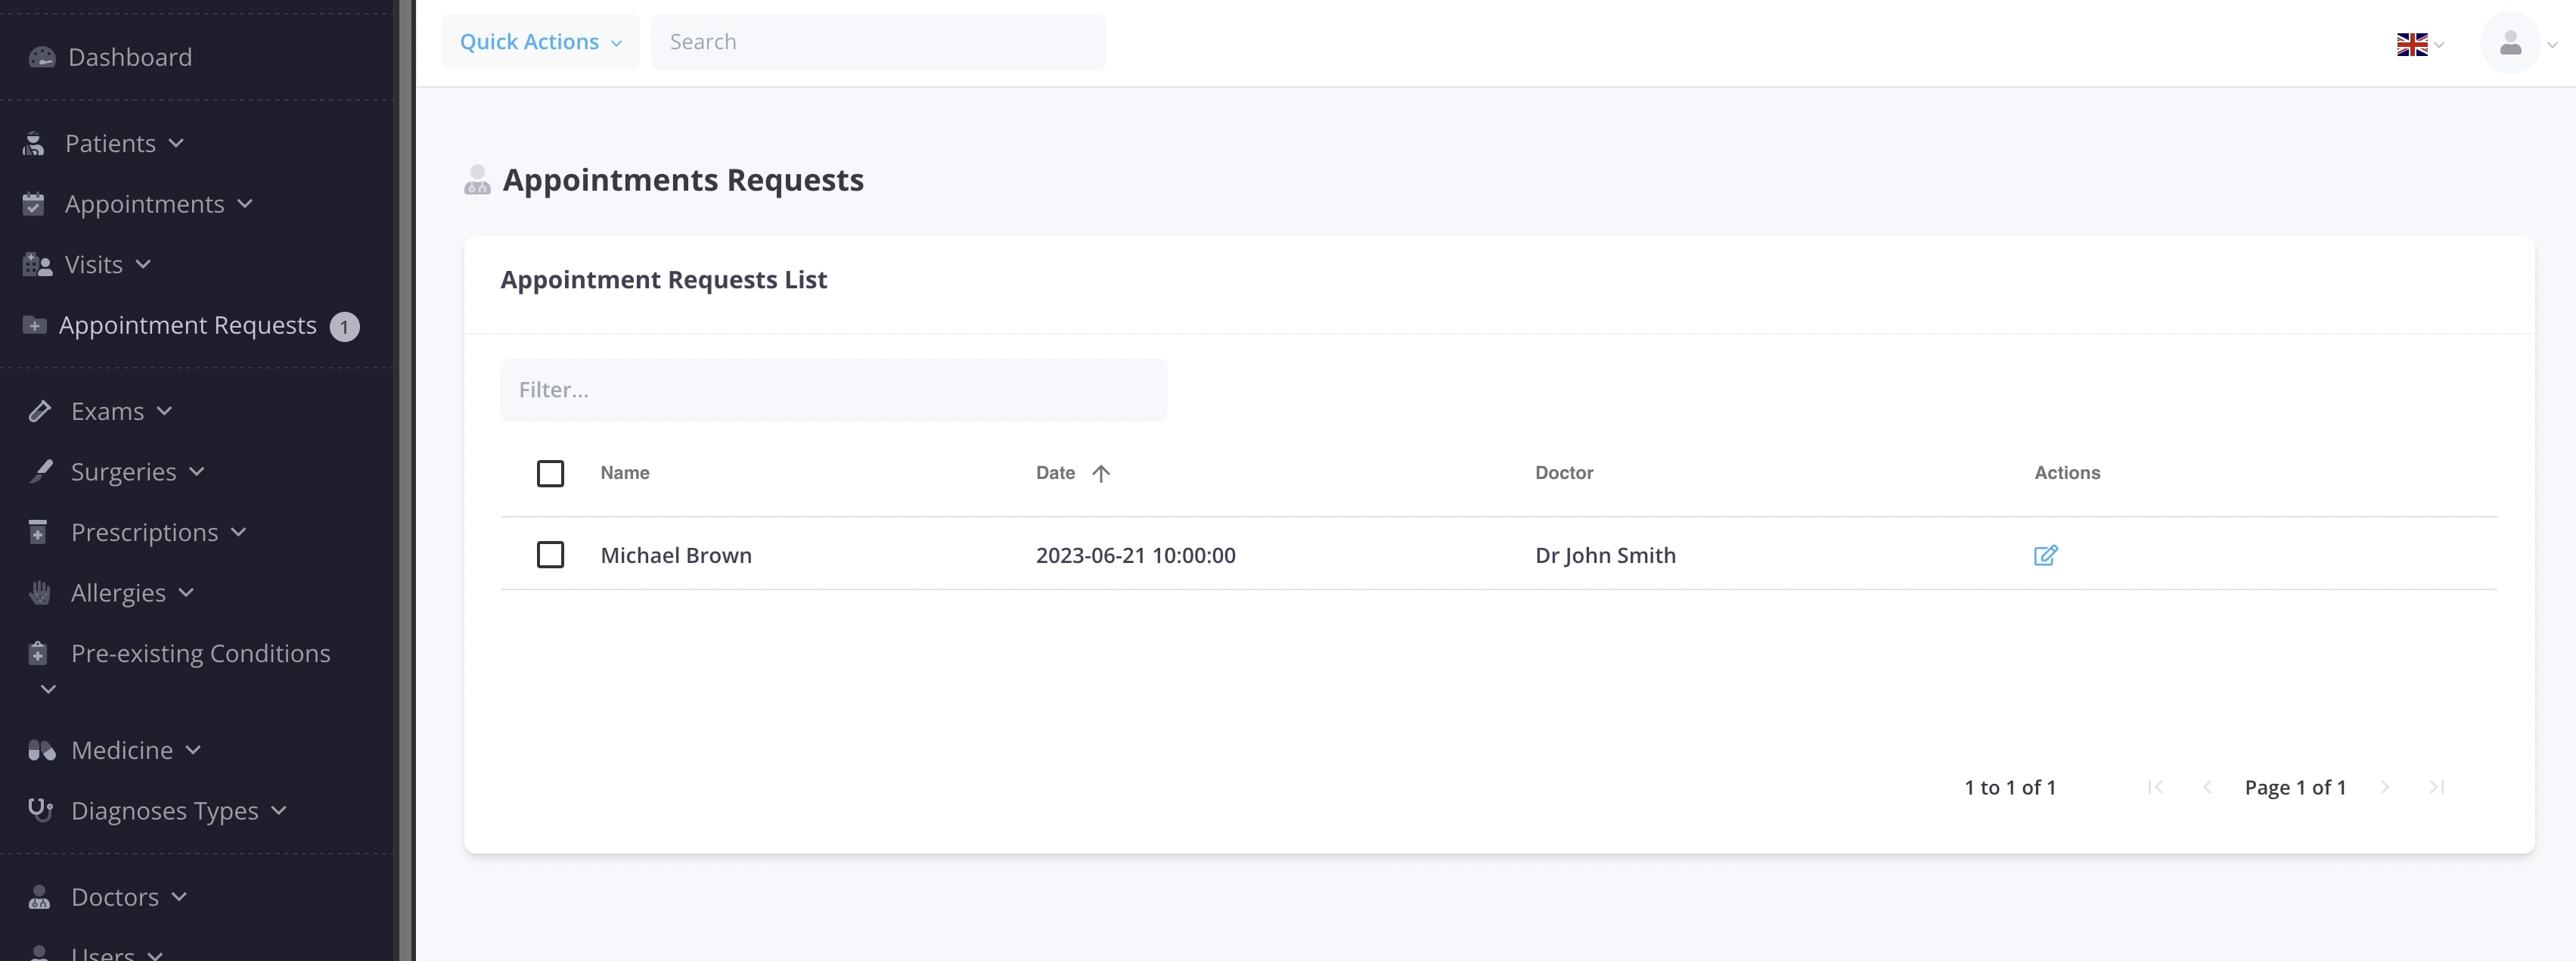
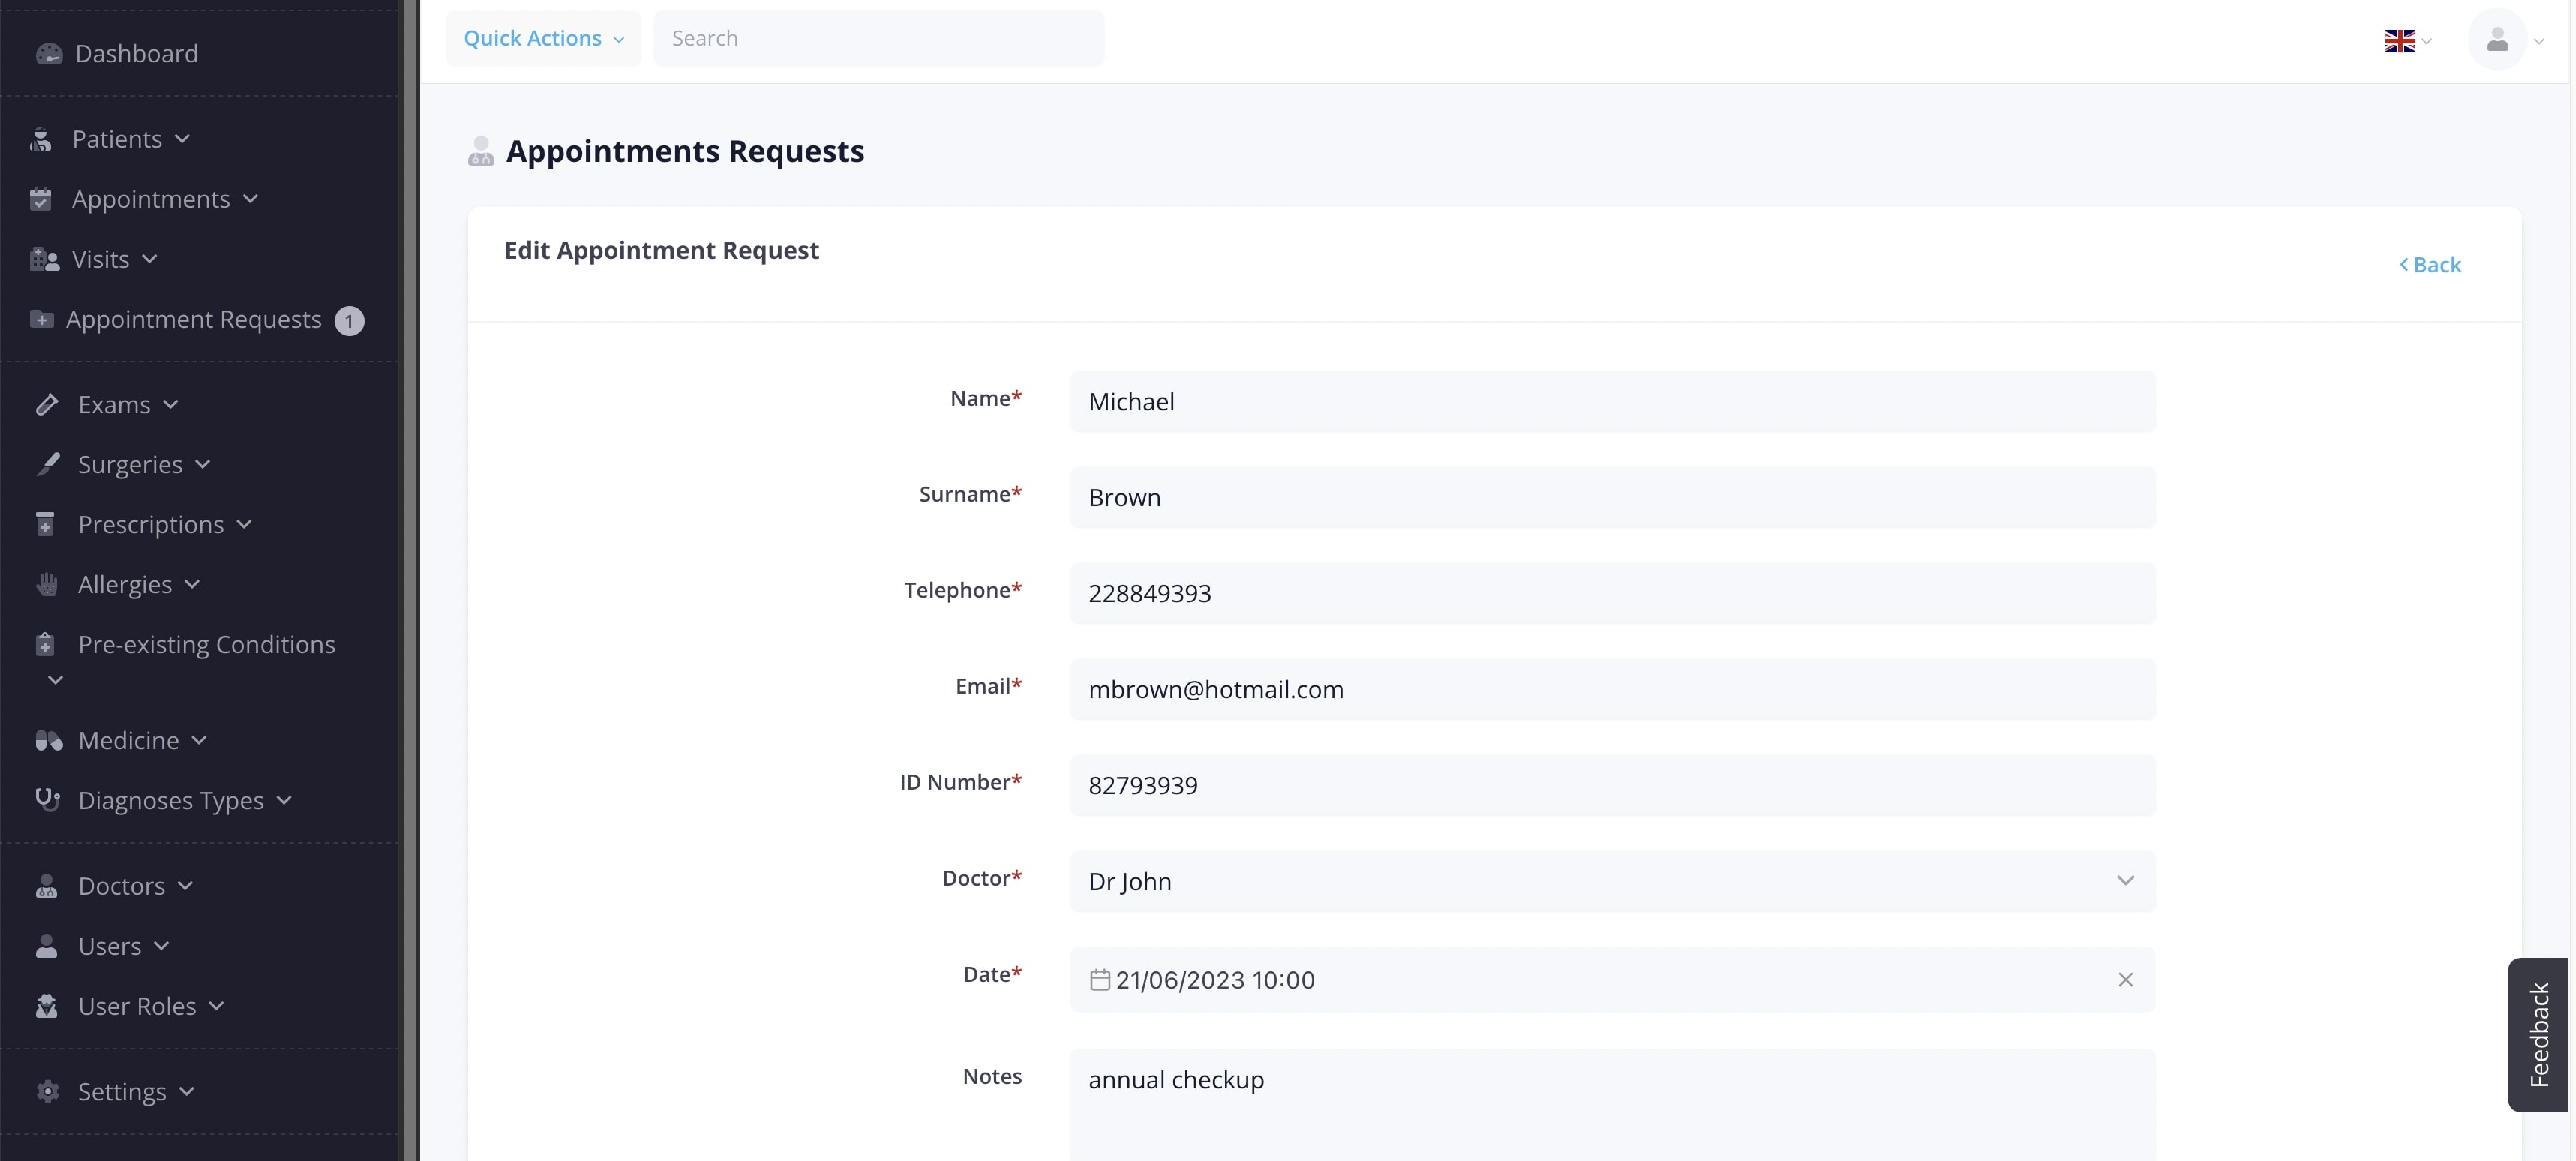
After the Patient sends an Appointment Request, this appears in your system, in the Appointments Requests section. From here you can edit an Appointment Request, and take the appropriate action.
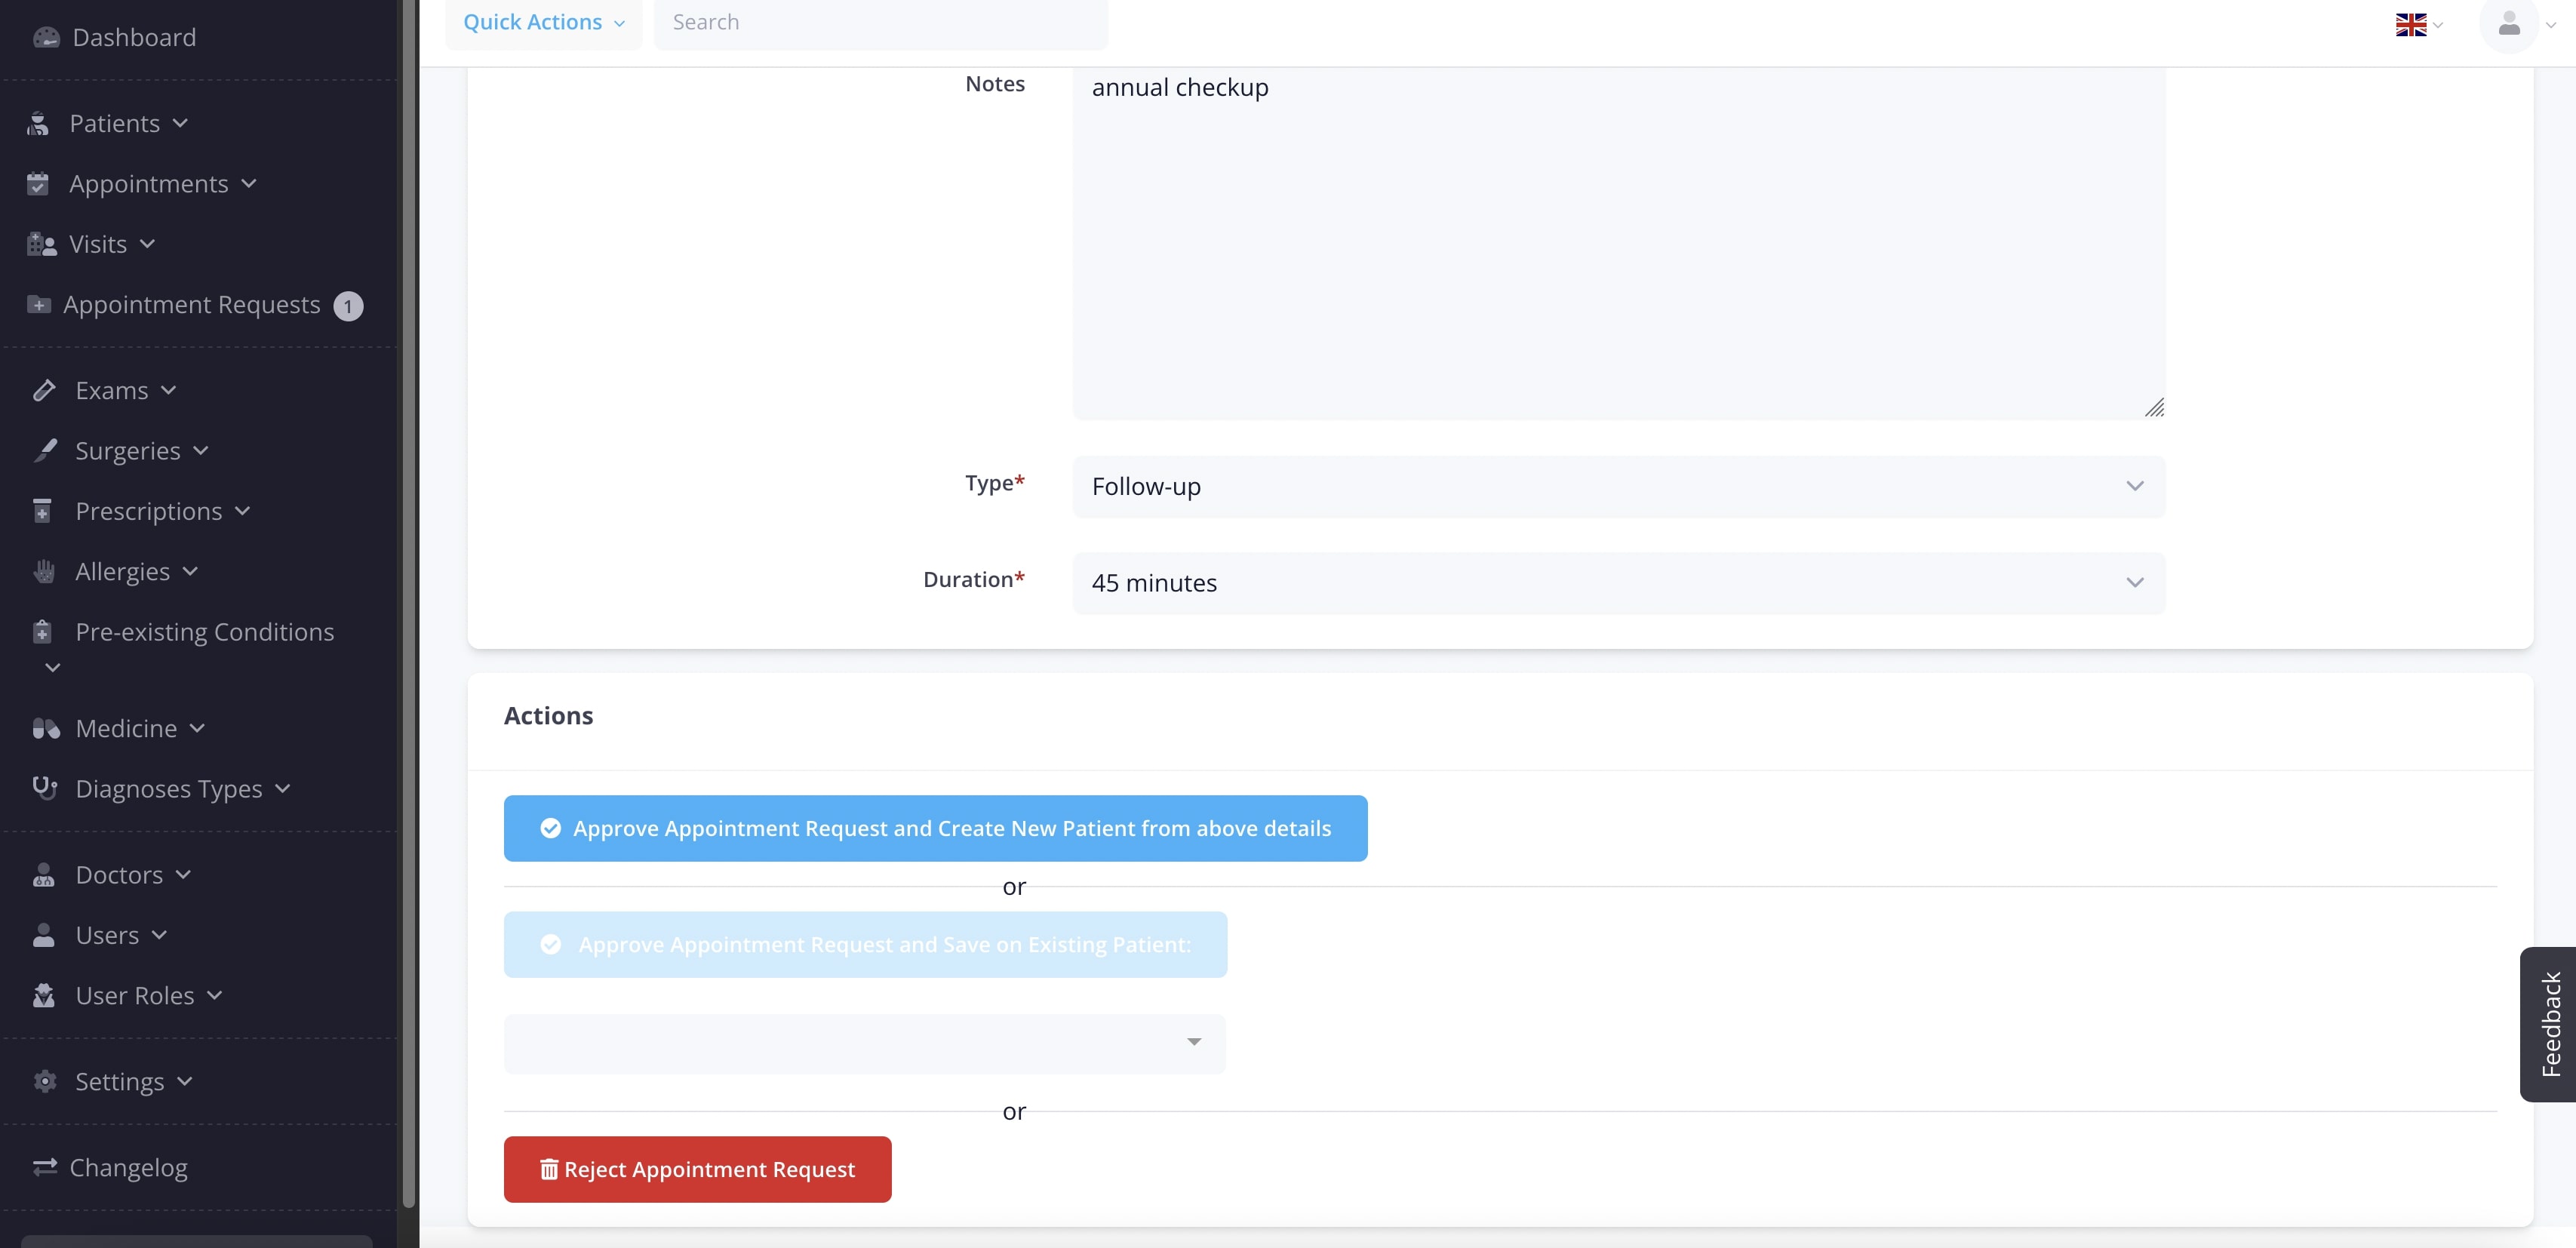
If you are approving the Appointment Request, you need to fill in the Type and Duration, in order for this to be converted to an Appointment.
If you are approving, you can either select to approve and create a new Patient(first option), or if this is an existing Patient, you can select the Patient and approve(second option).
If you are rejecting the Appointment Request, you can click on the third option.
After you take an action, the Appointment Request is removed from the system, and if you selected to Approve, then a new Appointment will be created in the Practitioner's calendar, based on the selected options.
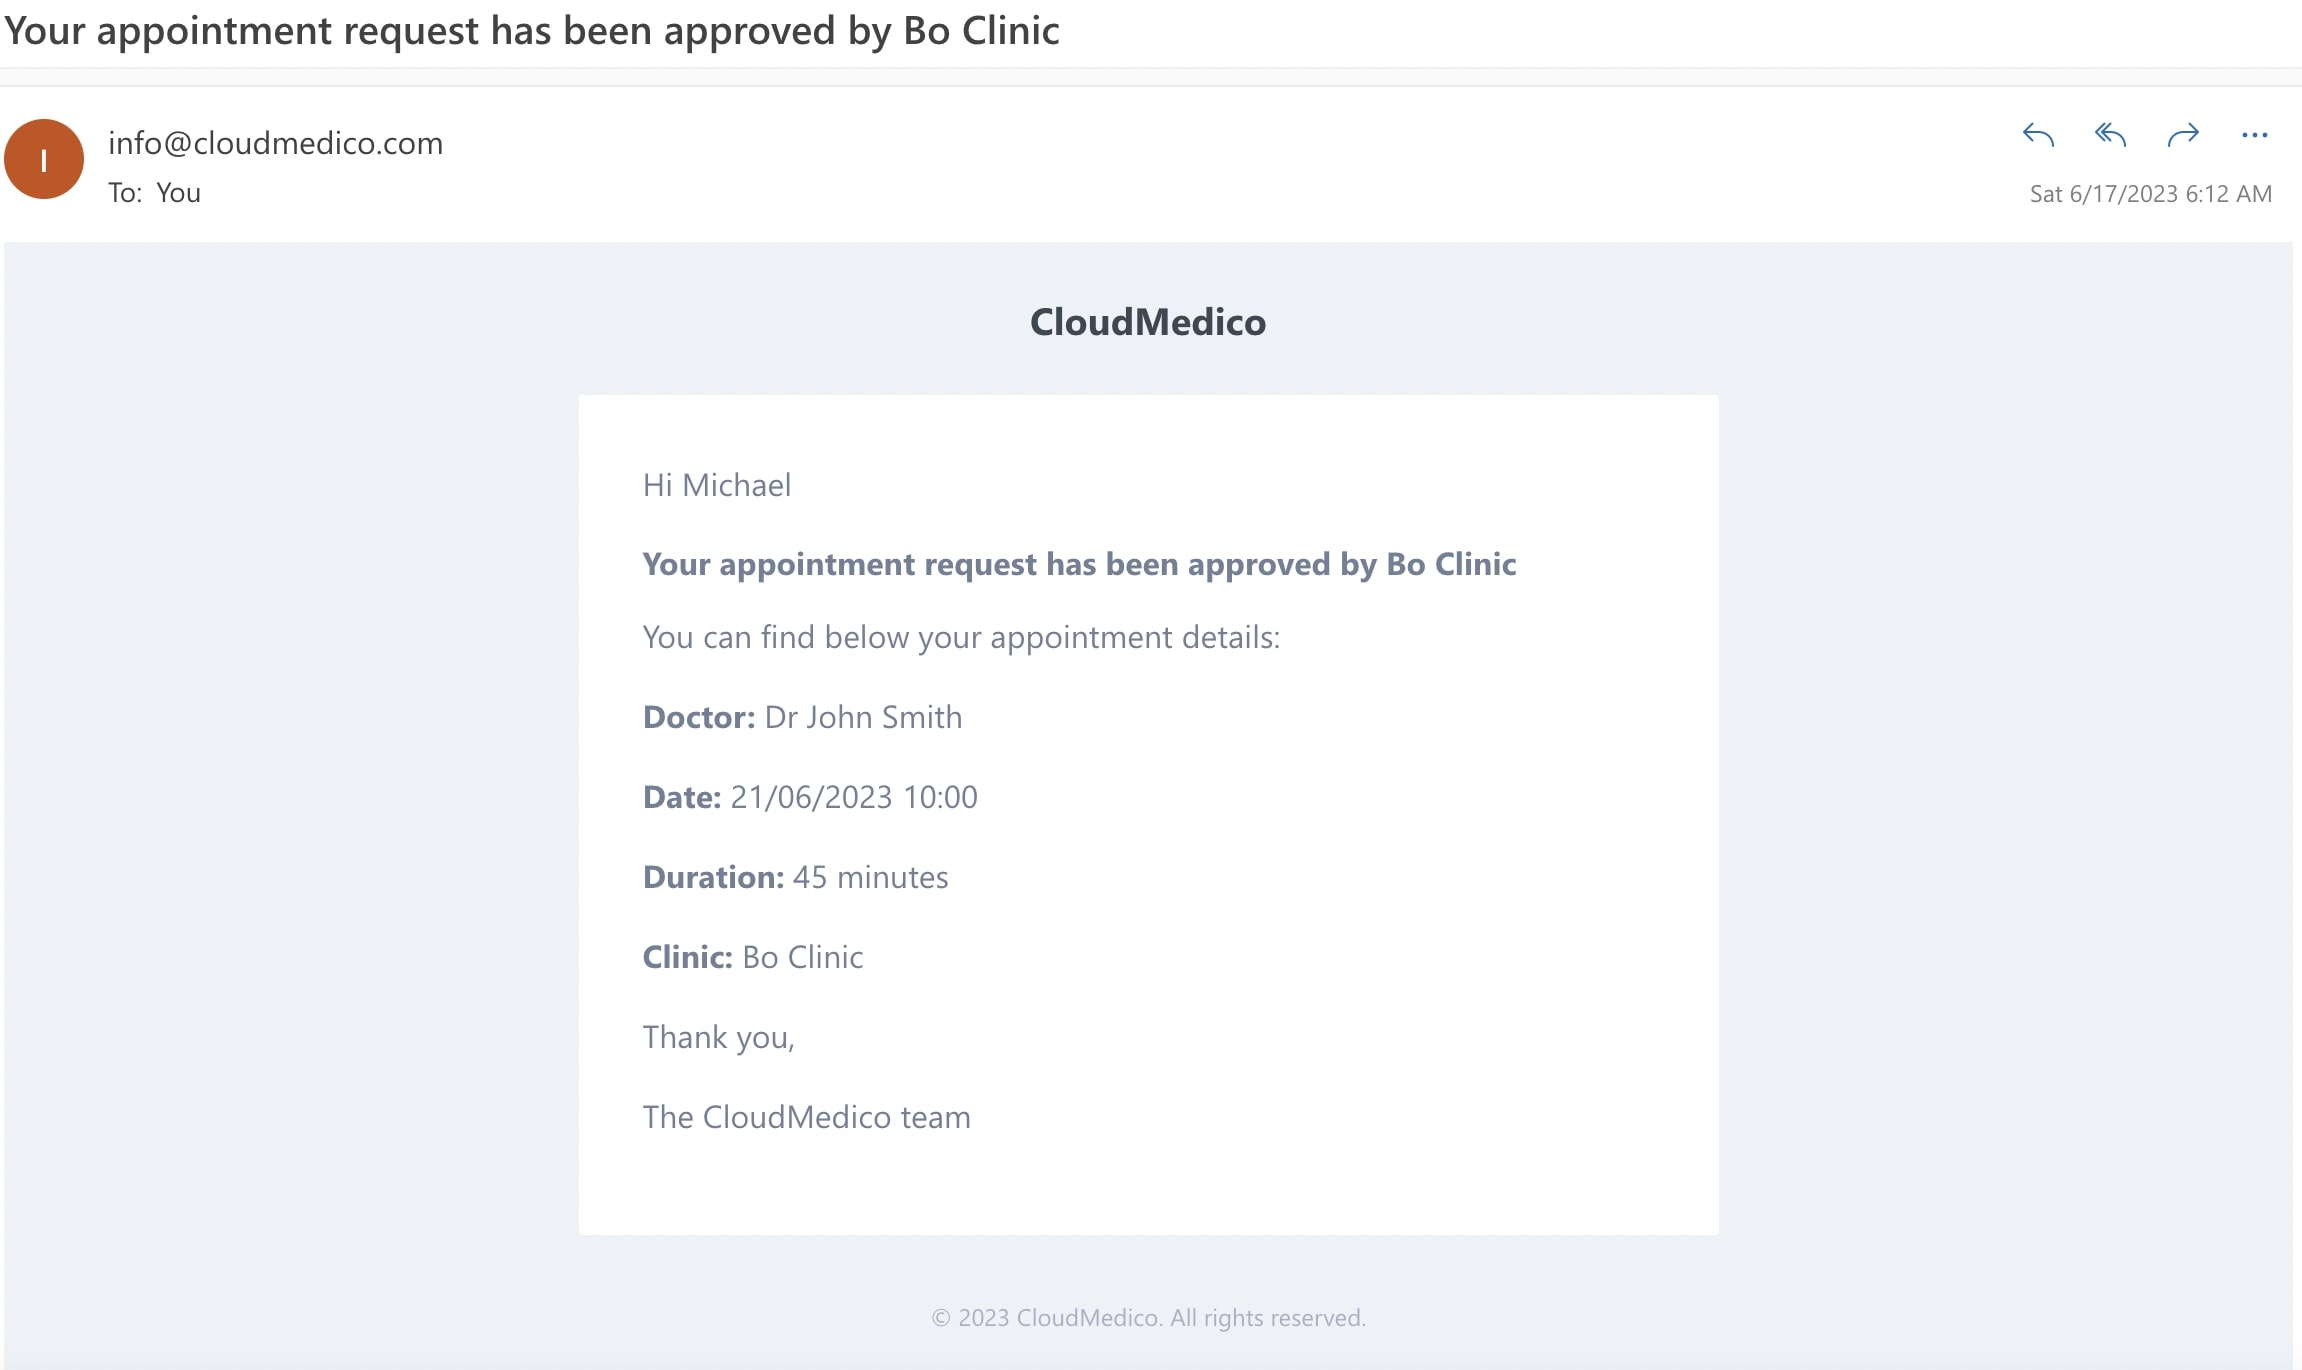
An email is also sent to the Patient's email address, informing him of the approval or rejection of his Appointment Request.