

Exporting Appointments from CloudMedico
CloudMedico provides a flexible way to export your appointment data to an Excel file (.xlsx). This allows you to easily transfer appointment information for various administrative, reporting, or analytical purposes.
How Export Works
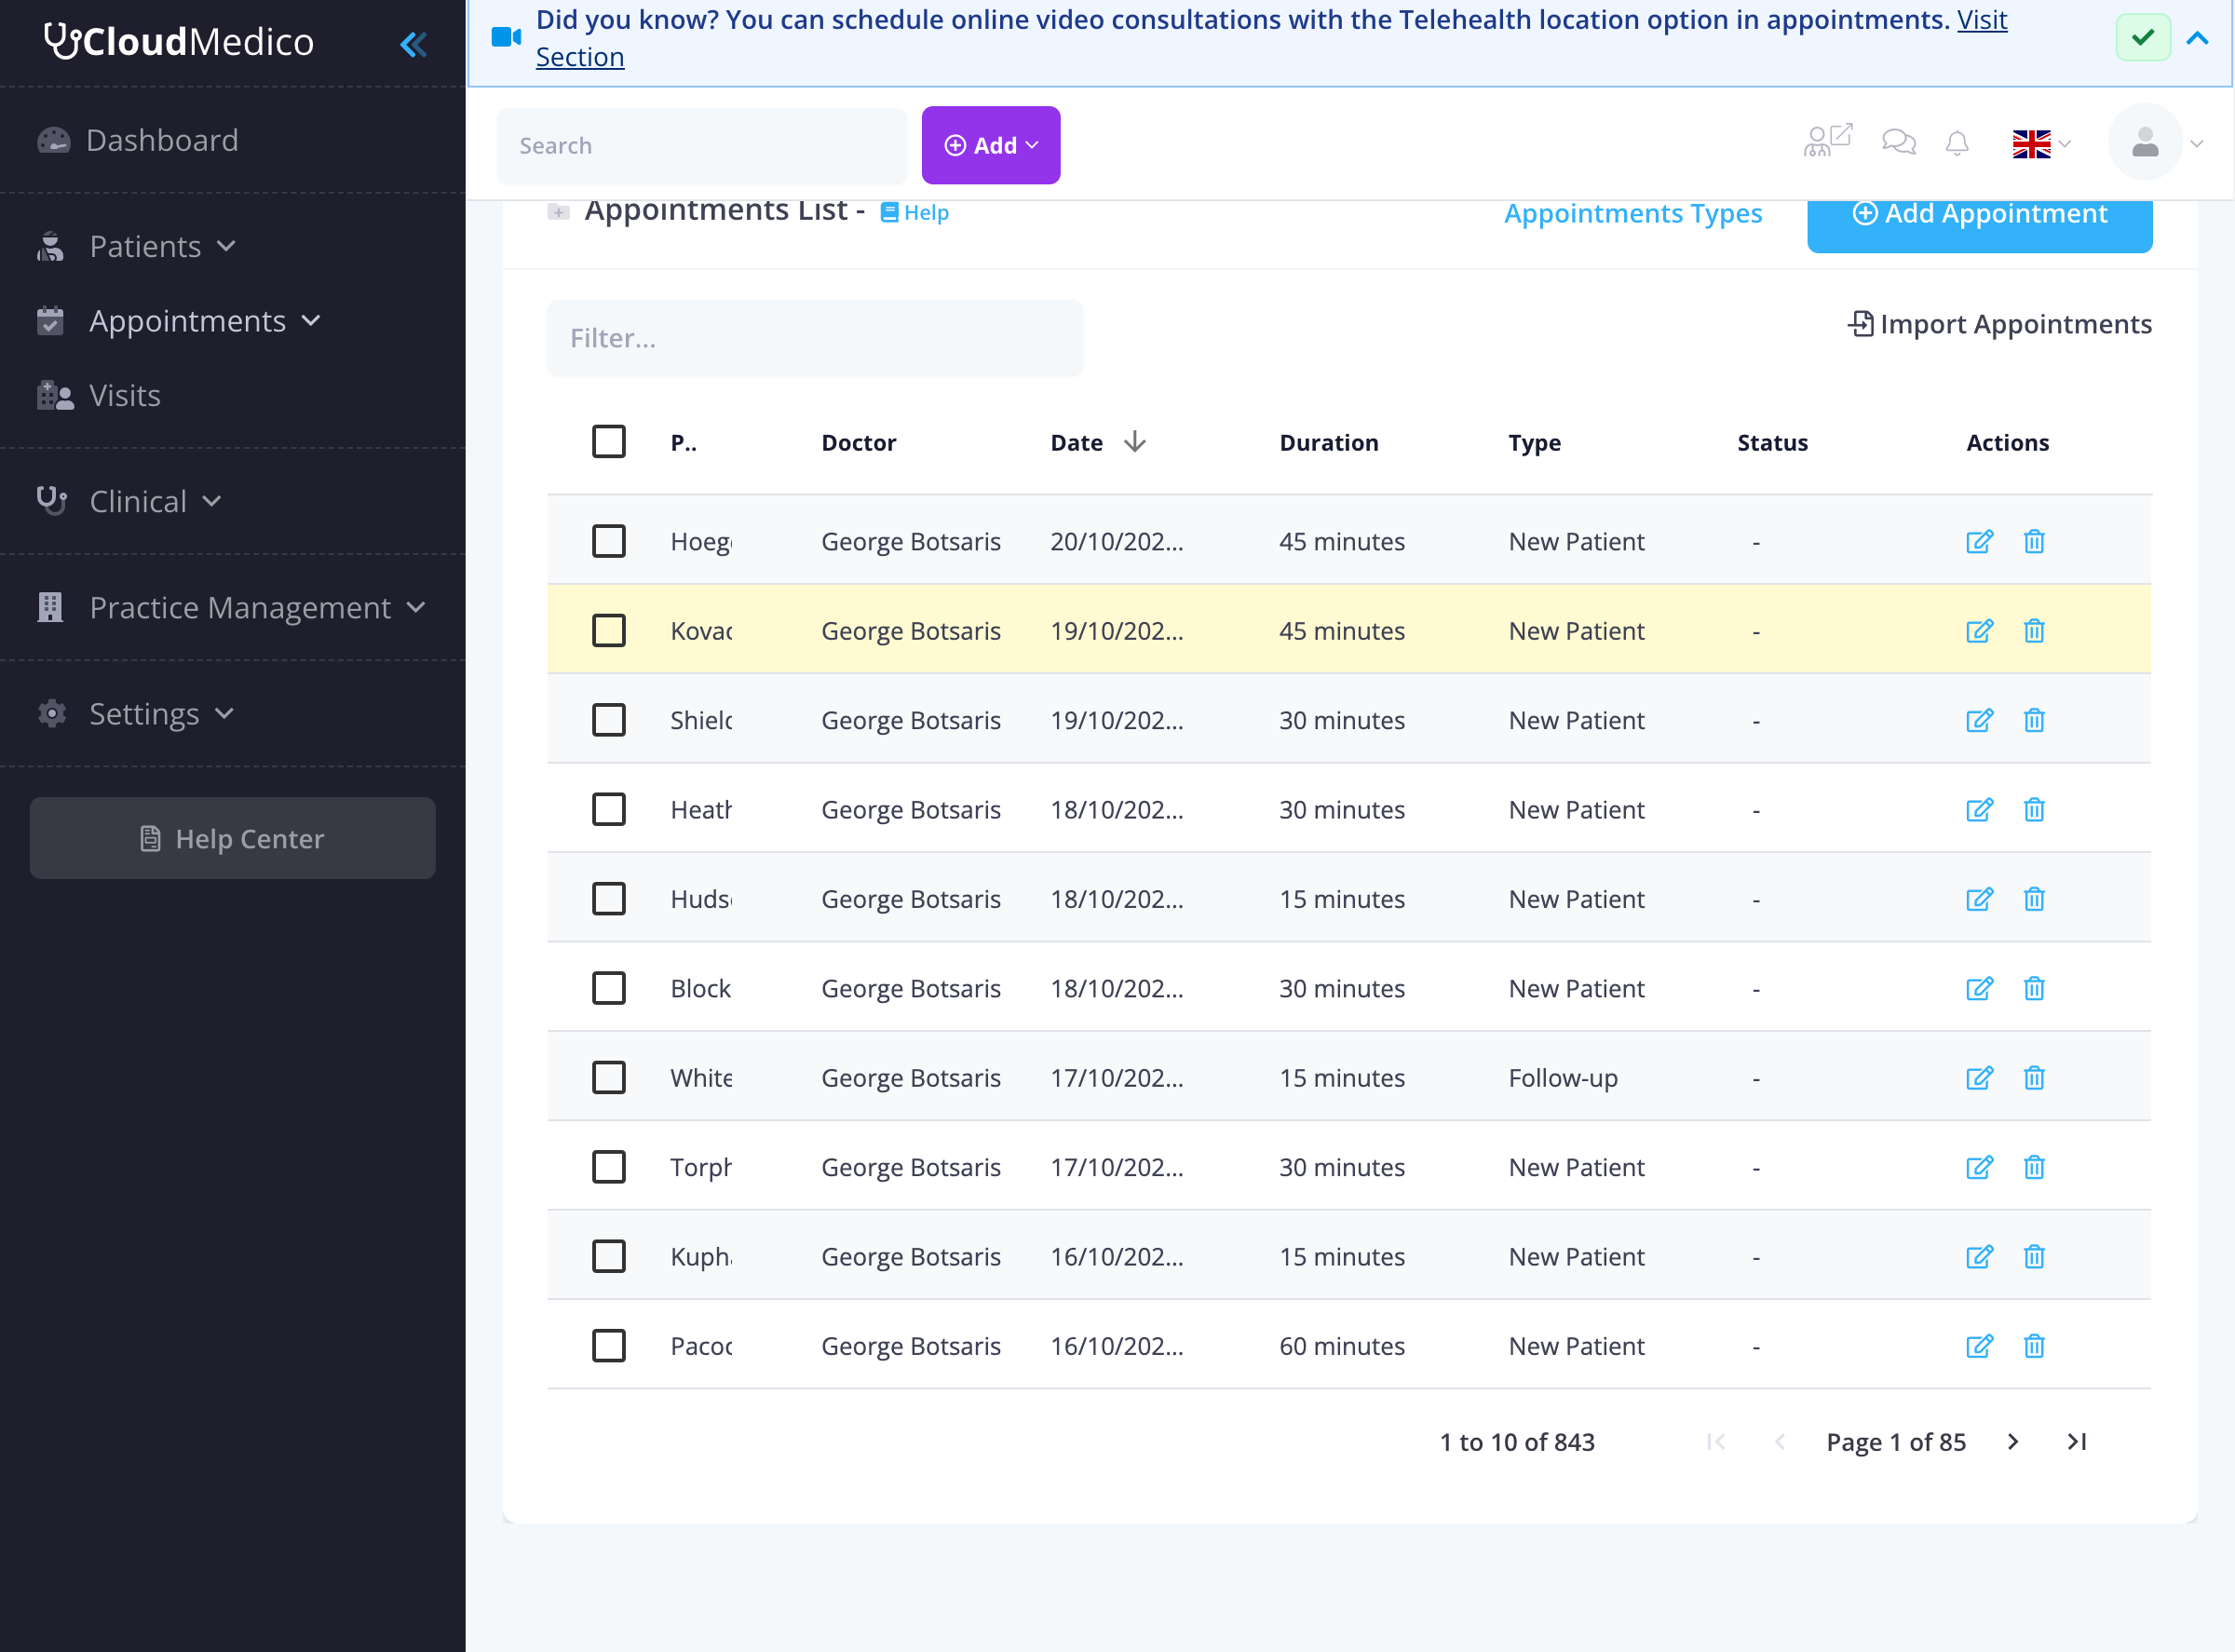
To export appointments, you must first select the records you wish to export from the Appointments List View. The 'Export Selected' button will only become visible and active once one or more appointments have been selected.
Step-by-Step Export Process
Follow these steps to export appointment records:
1. Navigate to Appointments List: From the main menu, go to 'Appointments' -> 'List (View)'.
2. Select Records: Use the checkboxes next to each appointment to select the appointments you want to export. You can select one or multiple appointments.
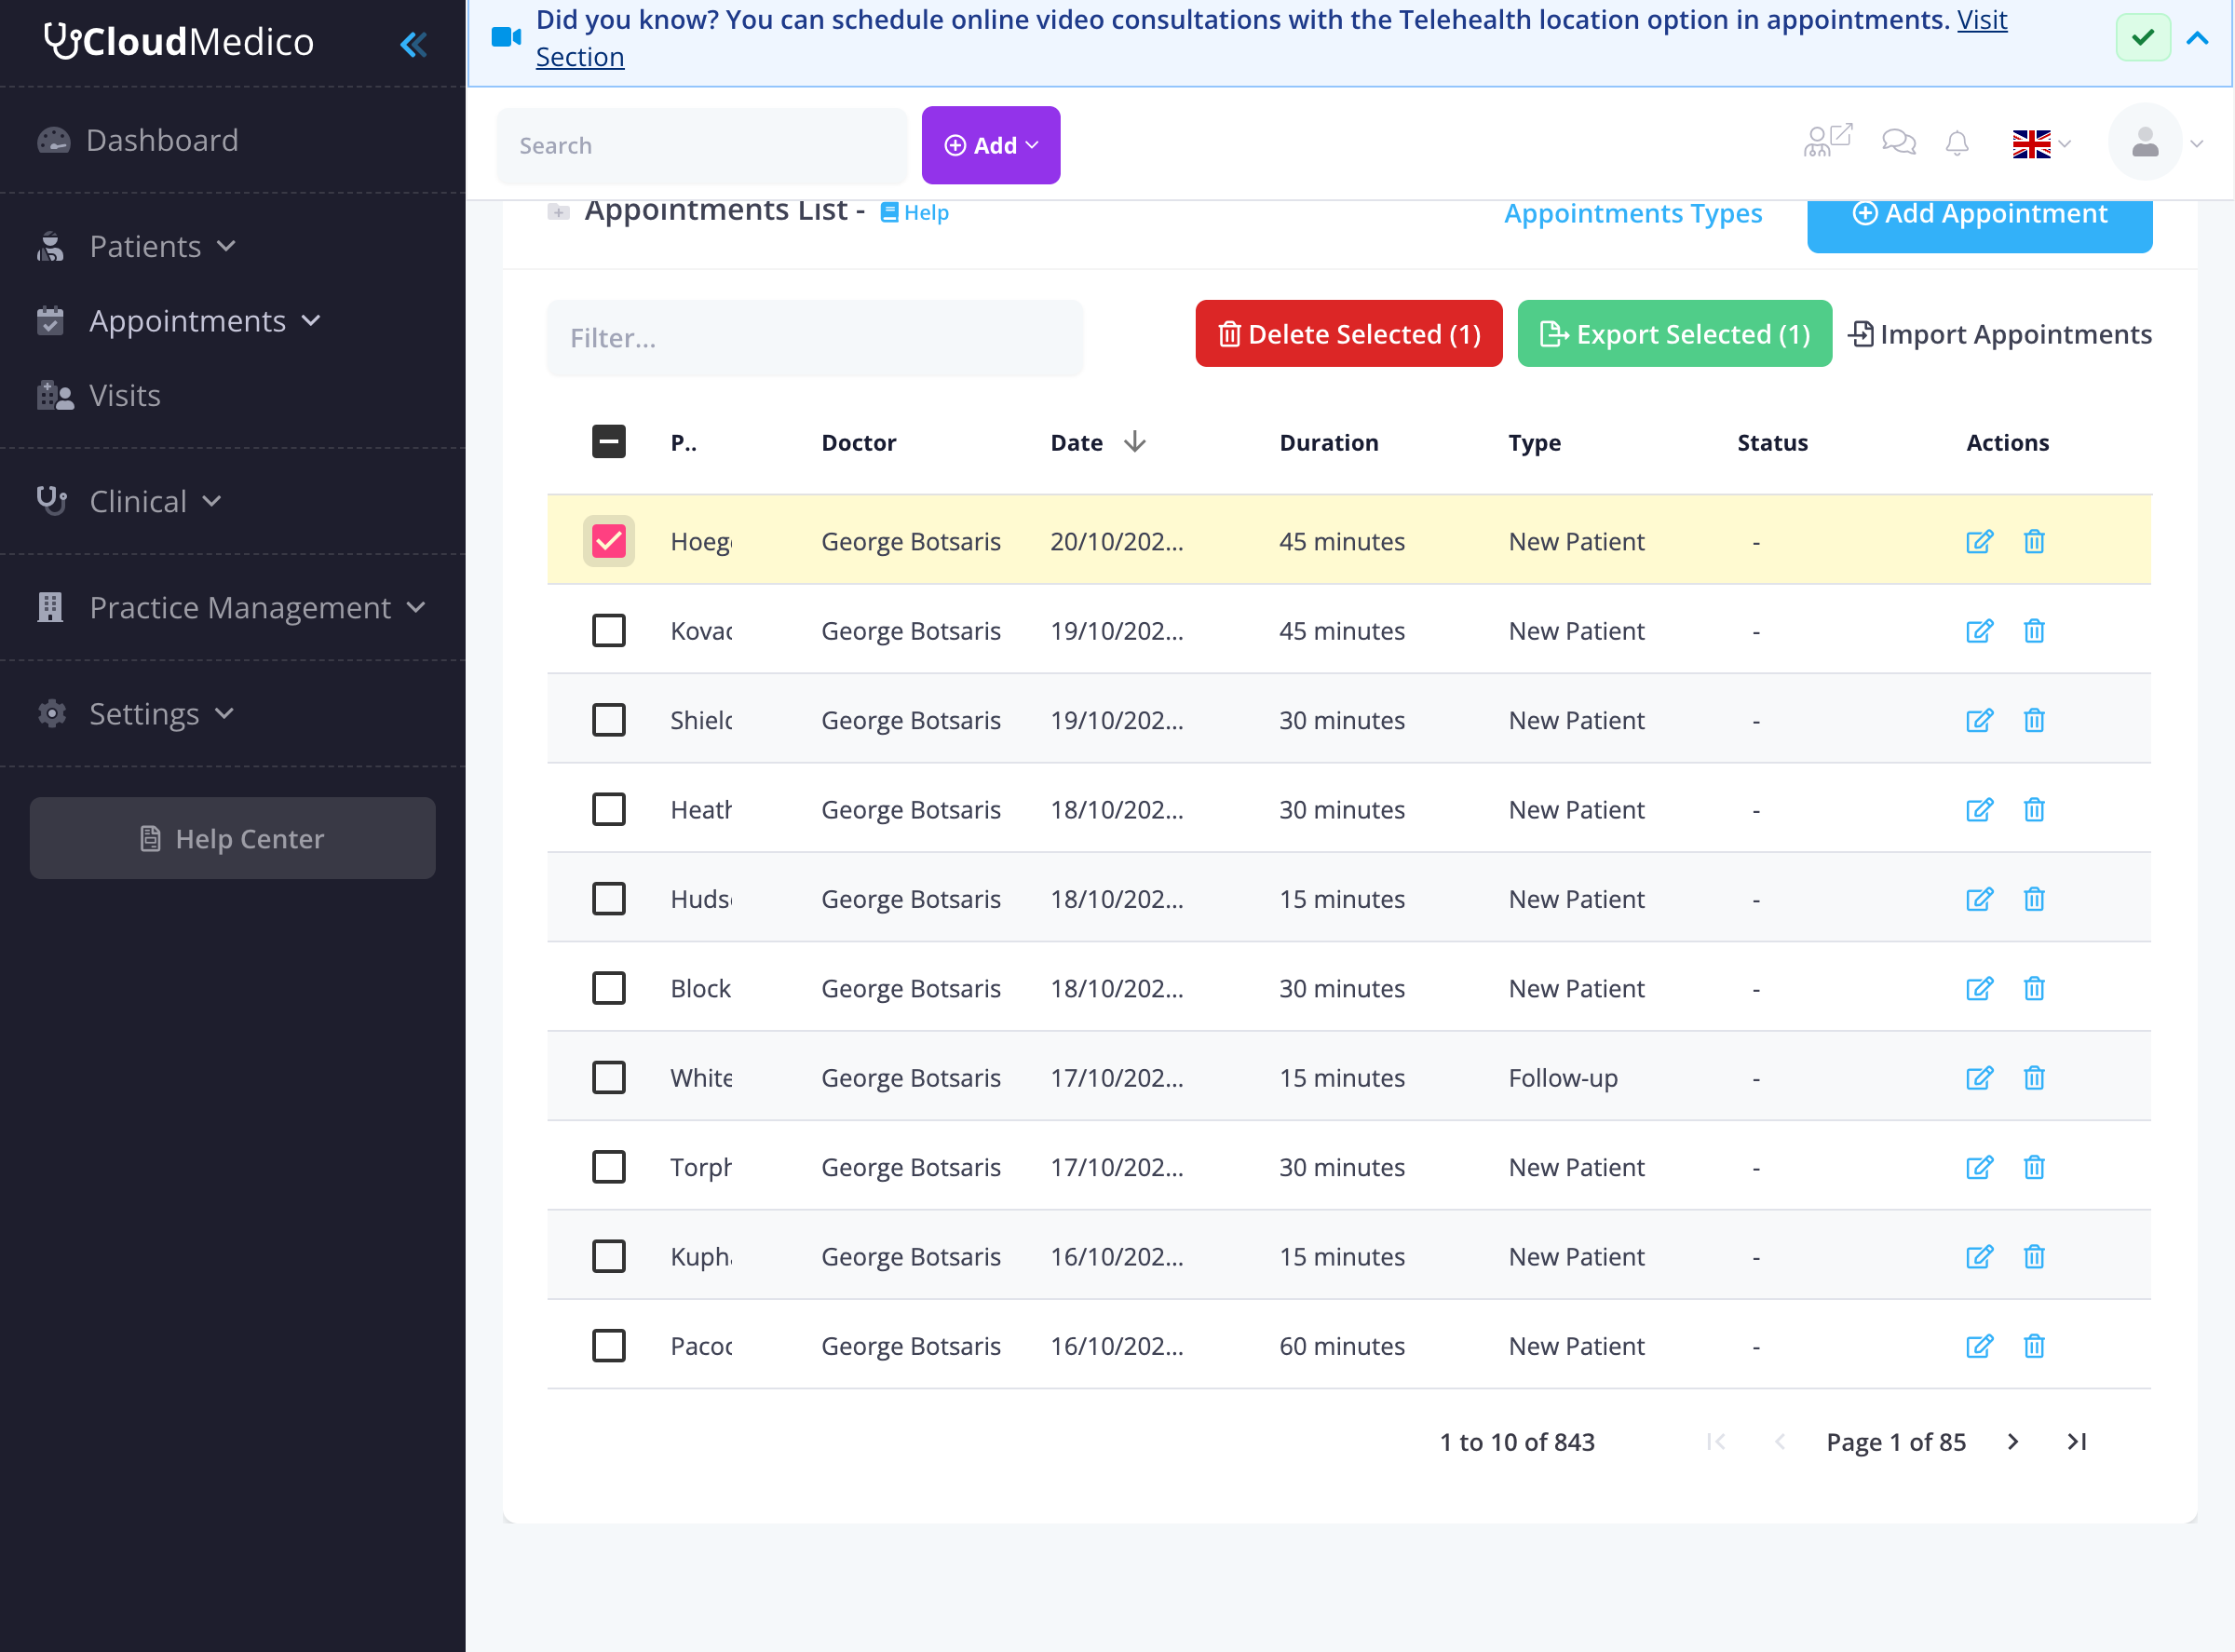
3. Click 'Export Selected': Once you have selected your desired appointments, a button labeled 'Export Selected (X)' (where X is the number of selected appointments) will appear at the top of the list. Click this button.
4. Download File: Your browser will automatically download an Excel file named `appointments.xlsx` containing the data of the selected appointments.
Exported Data Fields
The exported Excel file includes comprehensive appointment information, such as:
- Appointment ID
- Patient Information (Name, Contact details)
- Doctor Information (Name, Specialty)
- Appointment Details (Date, Time, Duration)
- Appointment Type (Follow-up, New Patient, etc.)
- Status (Scheduled, Completed, Cancelled)
- Location (Physical location or Telehealth)
- Description and Notes
Selection Features
The appointment list provides several selection options:
- Individual Selection: Click checkboxes next to specific appointments
- Multiple Selection: Select multiple appointments by clicking multiple checkboxes
- Visual Feedback: Selected appointments are highlighted and the export button shows the count
- Clear Selection: Uncheck boxes to deselect appointments
Filtering Before Export
To export specific subsets of appointments, use the filtering options:
- Date Range: Filter appointments by specific date ranges
- Doctor: Filter by specific doctors
- Status: Filter by appointment status
- Type: Filter by appointment type
Tips for Exporting
- Filter First: Use the filtering options to narrow down the appointments before selecting for export
- Review Data: Always review the exported Excel file to ensure all necessary data has been included
- Data Privacy: Be mindful of data privacy regulations when handling exported appointment information
- File Management: Organize exported files with descriptive names and dates